Introduction to Gardening for Beginners
Organic gardening is like having your own garden paradise right in your backyard. It's a way to reconnect with nature and grow food harmoniously with the environment. In this article's introduction to gardening, you will learn tips and techniques to grow your own organic food. By eliminating synthetic chemicals and relying on natural garden practices, you'll create a thriving ecosystem where plants, beneficial insects, and soil organisms work together in perfect synergy.
So, you've decided to embark on an exciting journey into organic gardening. Congratulations on your journey to embracing the basic principles of organic gardening! Get ready to dig in and discover the wonders of growing your own fresh and healthy produce. But before planting those seeds, let's talk about the first gardening process: preparing the ground.
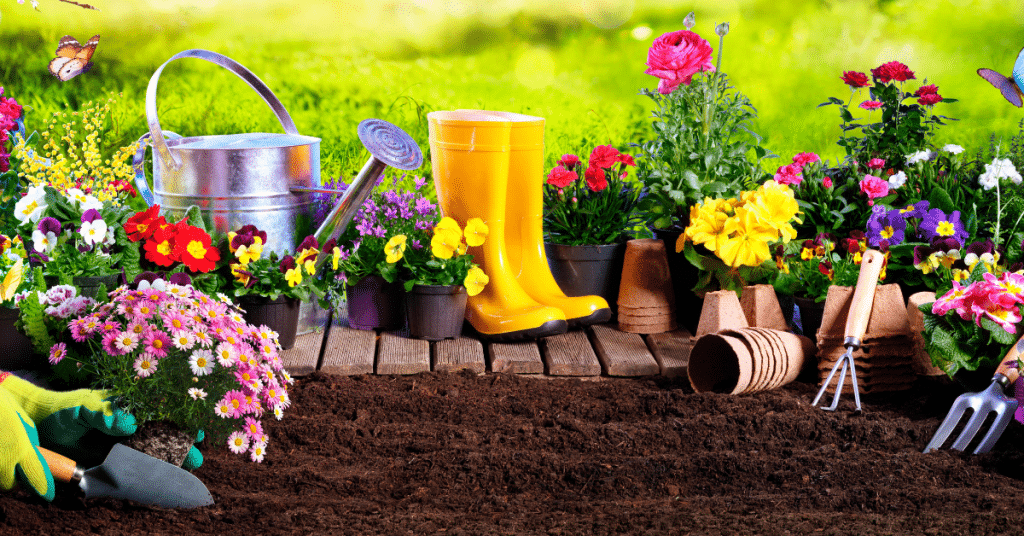
Preparing the Ground and Garden Making
Finding the Perfect Spot for Your Garden
When it comes to organic gardening, finding the perfect spot is where your gardening experience begins. Look for an area in your yard that receives ample sunlight throughout the day, ideally six to eight hours. Sunlight is essential for photosynthesis, which powers plant growth and yields.
Consider the soil quality as well. Perform a simple soil test to determine its pH level and nutrient content. Most vegetables thrive in slightly acidic soil with a pH range of 6.0 to 7.0. Amend your soil by adding compost or well-rotted manure if it requires amendment.
Introduction to Soil Preparation
Now that you've chosen the perfect spot, it's time to prepare the soil for your garden. Get started by clearing the area of any grass or weeds. Dig down 8 to 12 inches to prepare the soil until it is over. This loosens the soil, making it easier for plant roots to penetrate and access nutrients.
Enhance the soil's fertility by incorporating organic matter or organic soil enhancer. Compost is a gardener's best friend, as it improves soil structure, retains moisture, and releases essential nutrients over time. Compost should be applied liberally to the garden bed and worked deeply into the soil.
Seeds or Seedlings: The Beginning of Life
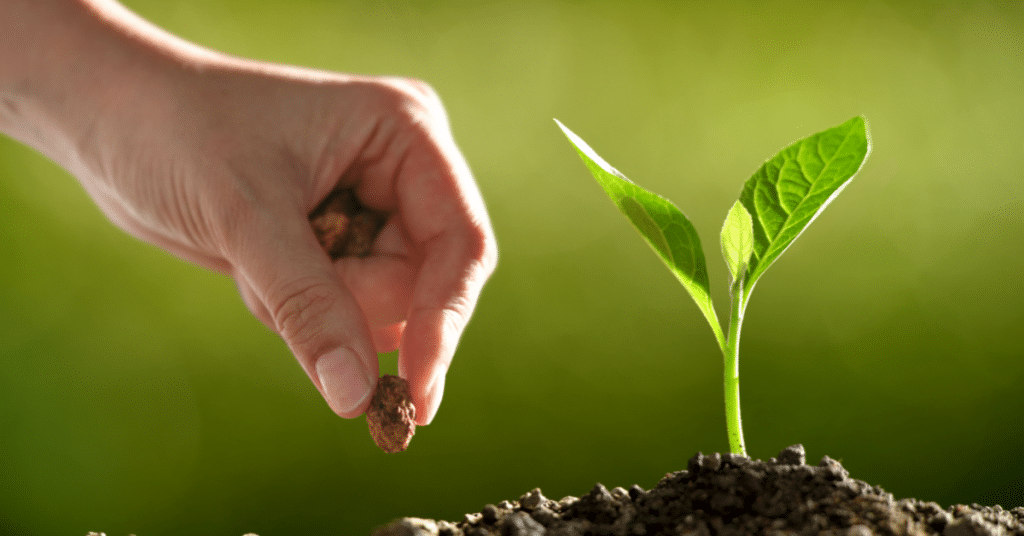
Now that your soil is primed and ready, it's time to decide between seeds and seedlings. You can find a broader selection of seeds in your local garden centres. You can choose different plant varieties, allowing you to experiment and grow unique crops. On the other hand, seedlings provide a head start, reducing the time it takes for your plants to mature.
If you choose seeds, follow the instructions on the packet regarding planting depth and spacing. Keep in mind that some seeds require starting indoors before transplanting them outdoors. This allows them to establish a robust root system before facing the elements.
For seedlings, visit your local nursery or consider starting your own from seeds indoors. Seedlings should be transplanted when they have a few sets of true leaves and the danger of frost has passed.
Laying the Foundation
Congratulations! By preparing the ground properly, you've laid a solid foundation for your organic garden. You've chosen the right location, nourished the soil with organic matter, and decided whether to start with seeds or seedlings. Now, it's time to move on to the exciting next step: growing plants and arranging plants harmoniously. So put on your gardening gloves, grab your tools, and get ready to dive into the fascinating world of organic gardening. Stay tuned for Section 2, where we'll guide you through garden practice and nurturing processes for a thriving garden. Happy gardening!
Introduction to Gardening on How to Plant and Nurture Your Garden
Now that you've prepared the ground for your organic garden, it's time to dive into the second phase: planting and nurturing. This is where your green thumb comes into play as you sow the seeds of your labor and care for your budding plants. Let's get started!
Starting Seeds: Indoor or Outdoor?
When starting your seeds, you have two options: indoors or outdoors. Some plants, like tomatoes and peppers, benefit from an early start indoors. Fill small containers with seed-starting mix, sow the seeds according to the packet instructions, and place them in a warm and well-lit area. As the seedlings grow, ensure they receive adequate water and light from a nearby window or fluorescent grow lights.
Prepare the garden bed for direct sowing by loosening the soil and removing weeds. Plant the seeds at the appropriate depth, considering their specific requirements. Water gently but thoroughly and protect if needed, for example, with row covers to prevent pests or frost damage.
Caring for Seedlings and Young Plants
Whether you started your seeds indoors or sowed them directly in the garden, caring for seedlings and young plants is crucial for their healthy growth. Water your plants regularly, keeping the soil moist but not waterlogged. Stick your finger into the soil for about an inch to check the moisture level. If it feels dry, it's time to water it.
Mulching is another essential practice in organic gardening. Apply an organic mulch layer around your plants, such as straw or shredded leaves. Mulch helps conserve soil moisture, suppress weeds, and regulate soil temperature.
Watering, Weeding, and Watching Them Grow
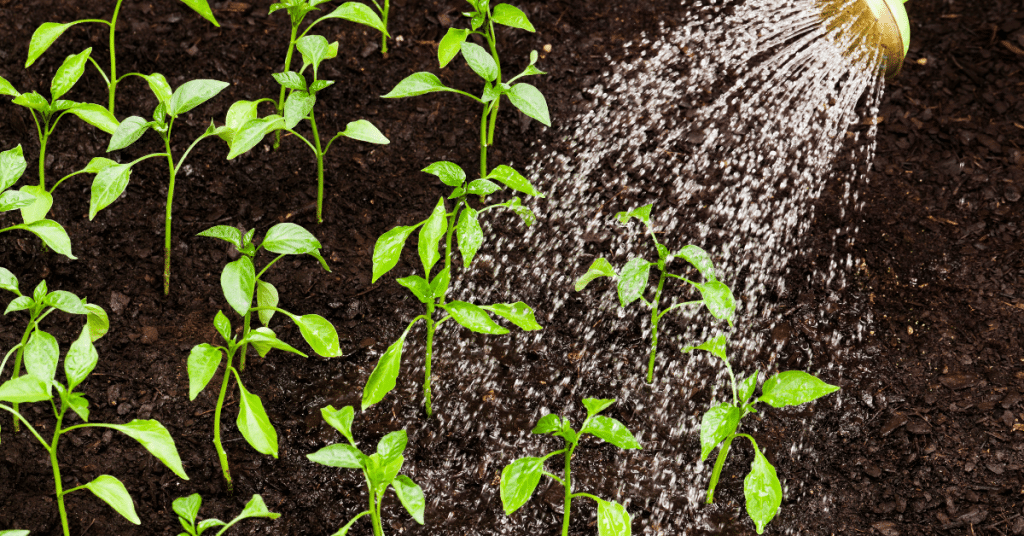
Watering and weeding are ongoing tasks in any garden. Water your plants deeply and less frequently to encourage deep root growth. Weeds fight with your plants for nutrients and water; thus, weeding must be done regularly. Pull weeds by hand or use a hoe to gently remove them, being careful not to disturb the roots of your plants.
Tending plants and relying on natural pest control methods are essential in organic gardening. Consider companion planting, where certain plants repel pests or attract beneficial insects that prey on pests. Also, inspect your plants regularly and take action at the first sign of trouble, such as handpicking pests or using organic pest control products.
Plant Breeding
Plant breeding improves qualities by modifying genetics. It involves choosing attractive parent plants, crossing them to produce offspring with different genetic material, and selecting those with the desired qualities. Recurrent selection and crossbreeding create new plant varieties with improved yield, disease resistance, and adaptability. This vital method has improved global food security and sustainability by allowing us to grow crops that suit changing surroundings and customer tastes.
Monitoring and Adjusting: Your Garden's Progress
Gardening is dynamic, and monitoring your garden's progress regularly is essential. Observe the growth and development of your plants, ensuring they have enough space to thrive. If overcrowding occurs, thin out seedlings or transplant them to provide adequate room for each plant.
Monitor nutrient levels by observing plant health. If you notice signs of nutrient deficiencies, consider side-dressing with organic fertilizers or adding compost to replenish the soil. Organic fertilizers release nutrients slowly, ensuring a steady supply for your plants. Make garden visiting a habit to make sure your garden is progressing.
Nurturing Growth
Congratulations on successfully planting and nurturing your organic garden! Whether you started your seeds indoors or sowed them directly in the garden, you've taken the crucial steps to ensure the healthy growth of your plants. By caring for your seedlings and young plants, watering, weeding, and monitoring their progress, you're well on your way to a thriving organic garden.
Harvesting and Beyond

Congratulations on reaching the final phase of your organic gardening journey! The fruits of your labor are ready to be harvested, and you'll soon be enjoying the fresh, flavorful produce you've grown with your hands. But the journey doesn't end here. Let's explore the process of harvesting, post-harvest handling, and how to prepare for future seasons.
Indications of Harvest-Ready Crops
One of the most exciting moments for any gardener is the harvest. But how do you know when your crops are ready to be picked? Different plants have different indicators. For fruits and vegetables, look for signs of maturity, such as color changes, firmness, and size. Harvest leafy greens when they reach the desired size and herbs when lush and fragrant.
Harvest your crops during the cooler parts of the day, such as early morning or late evening, to ensure the best flavor and nutritional value. Use sharp pruners or shears to avoid damaging the plants and carefully handle the produce.
Proper Harvesting Techniques
Each crop has its own specific harvesting technique. Some plants, like tomatoes and cucumbers, are best picked by gently twisting and pulling the fruit from the vine. Others, a like good and edible carrot, require loosening the soil around them before lifting them. Leafy greens can be harvested by carefully cutting the outer leaves, allowing the center to grow.
Handle harvested produce gently to prevent bruising or damage. Avoid washing them immediately unless necessary, as excess moisture can lead to spoilage. Instead, remove any visible dirt or debris and store them in a cool and dry place.
Post-Harvest Handling and Storage
After harvesting, proper post-harvest handling is crucial to extend the shelf life of your organic produce. Remove any damaged or spoiled parts before storing them. Some crops, like tomatoes and peppers, can be stored at room temperature, while others, such as leafy greens and herbs, benefit from refrigeration.
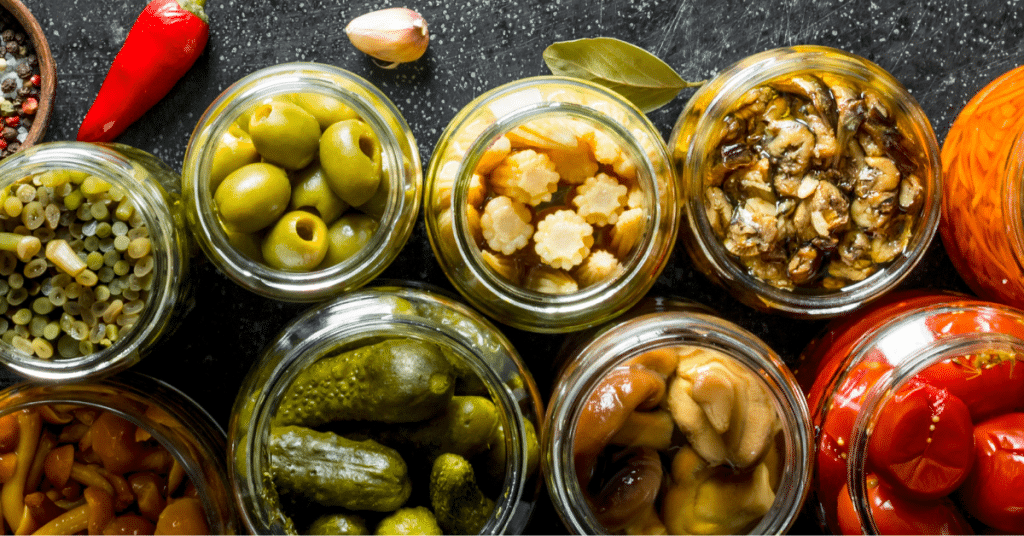
Consider preserving your harvest through canning, freezing, or drying for longer storage. These basic principles involved allow you to enjoy the taste of your garden-fresh produce even during the off-season.
Crop Rotation and Soil Replenishment
As you wrap up one growing season, thinking ahead and planning for the next is important. Crop rotation is a beneficial practice in organic gardening that helps prevent soil-borne diseases and nutrient depletion. Rotate your crops by planting them in different garden sections each year, following a logical sequence that considers their families and nutrient needs.
To replenish the soil's fertility, incorporate organic matter like compost or well-rotted manure during the offseason. This replenishes essential nutrients and improves the soil's structure, ensuring optimal conditions for future plantings.
Reflecting and Planning Ahead
As you savor the flavors of your homegrown produce, take a moment to reflect on your gardening journey. Celebrate your successes, learn from any challenges, and appreciate the connection you've formed with nature through organic gardening.
Use this introduction to gardening guide for future seasons. Consider expanding your garden, trying new plant varieties, or implementing different organic gardening techniques. Each year brings new opportunities for growth and learning in the beautiful world of organic gardening.
Nurturing the Cycle
Congratulations on successfully harvesting your organic garden! You've preserved the freshness and flavor of your homegrown delights by recognizing the indications of harvest-ready crops, employing proper harvesting techniques, and handling and storing your produce correctly.
By practicing these gardening tips, you're setting the stage for future successful seasons. Reflect on your journey and use your newfound knowledge to plan and expand your garden for even more abundant harvests.
Remember, organic gardening is an ongoing adventure with a natural environment filled with learning, connection, and the joy of watching your garden flourish. So, keep nurturing the cycle from seed to harvest and enjoy the bountiful rewards of your organic gardening endeavors. Happy gardening, and may this introduction to gardening guide will walk you to nurturing your green thumbs and delicious harvests!